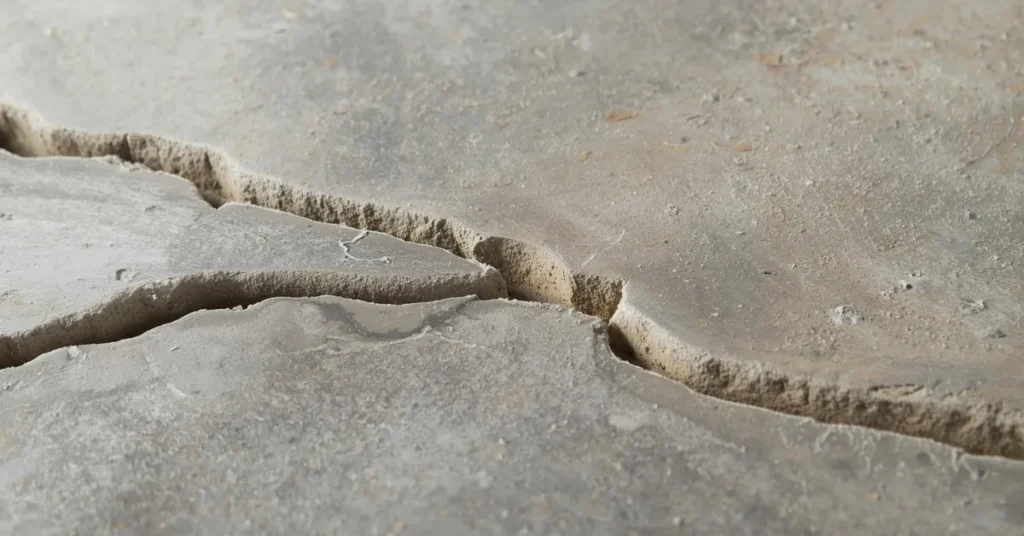
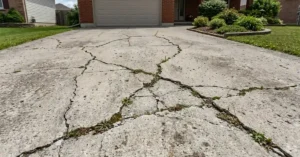
Large cracks snaking across your concrete driveway not only look rough but can lead to bigger problems if ignored. Concrete driveway crack repair is a straightforward weekend project that saves you from costly full replacements down the road. Most homeowners can handle it themselves with basic tools and the right approach.
Understanding Why Cracks Form
Cracks appear for several common reasons, starting with ground movement beneath the slab. Poor soil compaction during original pouring often leaves voids that shift under weight, creating splits over time. Harsh weather plays a huge role too, especially freeze-thaw cycles where water seeps in, expands as ice, and pries the concrete apart.
Heavy vehicles like trucks or RVs add extra stress, particularly if tires hit the same spots repeatedly. Tree roots growing underneath lift sections unevenly, while poor drainage lets puddles linger and erode edges. I remember helping a friend spot early signs after a wet spring; addressing it then prevented a total redo later. Knowing these causes helps you pick the best fix and spot issues early during routine checks.
Essential Tools and Materials List
Stock up before starting to keep the job smooth. A good caulk gun, backer rod, high-quality polyurethane sealant, wire brush, shop vac, and pressure washer cover the basics for effective concrete driveway crack repair.
- Closed-cell foam backer rod, sized bigger than your widest gap.
- Flexible sealant such as Sikaflex or similar brands for lasting flex.
- Utility knife, gloves, soapy water, and fine concrete sand for blending.
- Chisel or screwdriver for pushing materials into place.
Plan for about $40 to $60 in supplies for an average driveway. Choose products labeled for driveways since they handle tire traffic and weather swings better than indoor fillers. Test a small batch first to match your slabs color perfectly and avoid surprises.
Thorough Cleaning and Prep Steps
Prep makes or breaks concrete driveway crack repair results. Pick a dry day with temperatures above 50 degrees for best adhesion. Blast the whole driveway with a pressure washer at least 2,500 PSI to flush out dirt, debris, and weeds from every crack.
Use a wire brush or chisel to square off edges slightly, widening the base for better hold. Vacuum or blow out all loose bits thoroughly. For deep gaps over half an inch, insert temporary wood strips to hold shape during cleaning.
Allow 24 full hours to dry completely. Trapped moisture bubbles up fillers later, wasting your effort. This step, though tedious, ensures materials bond tight and flex with natural slab shifts without peeling away prematurely.
Proper Backer Rod Installation
Backer rod sits at the heart of solid concrete driveway crack repair for wide cracks. Measure your gap and cut foam pieces about six inches longer for easy handling. Twist into a rope shape if needed, then gently push it down about half an inch below the surface with a blunt tool.
Select rod diameter 20 percent thicker than the crack for a firm fit without over-compressing. This creates the perfect sealant shape, saving material and boosting flexibility. Sand serves as a cheap substitute in super-wide areas, packed level and tamped firm.
Once, I saw a neighbor skip this on a major split; the filler sank and failed fast. Getting depth right controls expansion and handles seasons of heaving without new breaks forming nearby.
Filling Cracks with Sealant
Time to fill those gaps in your concrete driveway crack repair project. Snip the sealant tube tip at a 45-degree angle to match crack width precisely. Load into the gun and squeeze steady pressure for an even bead, slightly overfilling to account for settling.
Non-sag types tool best with a wet finger for a smooth dip below surface level. Self-leveling kinds need end dams to contain flow neatly. Dust fine sand over the wet surface right away to mimic driveway texture seamlessly.
Work small sections to prevent drying before finishing. Top brands withstand plows, shovels, and daily cars without cracking brittle. Smooth passes prevent air pockets that weaken holds over time.
Curing, Finishing, and Maintenance Tips
Feather edges smooth and sweep excess sand after the initial set. Stay off for 24 to 48 hours, though full strength builds over a week. Apply a fresh driveway sealer coat yearly to block water and extend life further.
Keep an eye on nearby hairlines, as they hint at deeper settling. Regular sweeping stops grit from grinding surfaces prematurely. One client shared how this routine kept their slab looking new after five tough winters.
Simple habits like prompt puddle clearing prevent repeat issues. Combine with annual inspections for pavement that outlasts expectations easily.
Avoiding Beginner Pitfalls
Many rush cleaning or pick stiff fillers unfit for movement, dooming concrete driveway hole repair efforts. Elastomeric types flex where mortar shatters under stress. Never mound sealant high; it catches blades and peels loose fast.
Cold or damp conditions trap failures waiting to happen. Ignore backer rod at your peril, as shallow fills crack anew quickly. A family member tried shortcuts once and redid it properly the next month; lesson learned the hard way.
Patience through each step delivers pro-level results every time.

FAQ
What is the best material for concrete driveway crack work?
Products designed to bond with existing concrete, such as polymer-modified fillers or epoxy-based compounds, are the most durable and weather-resistant options.
Can I fix large cracks myself or should I hire a pro?
Minor to medium cracks can often be handled with DIY methods, but large or structural cracks may require professional assessment to prevent recurring issues.
How long does it take for filled cracks to set?
Most concrete fillers or patching compounds need at least 24 to 48 hours to harden. Full curing can take up to a week, depending on weather and product type.
Will my driveway look smooth after filling cracks?
With careful application and proper smoothing techniques, most cracks can blend into the surrounding surface. Some texturing may be needed to match the original finish.
How can I prevent future concrete driveway cracks?
Routine inspections, sealing the surface, ensuring proper drainage, and avoiding excessive weight on the driveway all reduce the risk of new cracks forming.
Conclusion
Concrete driveway crack repair brings back a smooth, safe surface without huge expense. Follow these steps closely for results that endure harsh conditions year after year. Grab your tools and give it a go this weekend.
Tough spots overwhelming you? The Mouton Concrete Repair Team offers trusted local help when needed.