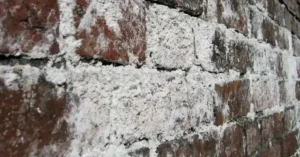
You step outside with your morning coffee, look down, and the patio looks like the surface of the moon. Those small craters are annoying, but they’re also a warning that the surface is wearing away. Knowing how to fix pitted concrete early saves you money, and Fixing Damaged Concrete Surfaces gets much easier once you know why the pits formed. A rough slab is not a lost cause. With the right prep and products, it can look smooth and solid again.
What Causes Pitted Concrete?
Before you learn how to fix pitted concrete, you need to know what caused the pits. Pitting usually starts small. A few shallow holes show up, then they spread as water gets in.
Freeze Thaw Cycles
Water soaks into tiny pores in the slab. When it freezes, it expands and pushes on the surface paste. After enough winters, small pieces break loose and leave holes behind.
Deicing Salts and Chemicals
Rock salt melts ice fast, but it’s hard on cement. It pulls more moisture into the surface and speeds up scaling. Fertilizer spills and harsh cleaners can also wear down the top layer.
Poor Finishing or Curing
Sometimes the problem starts on pour day. Too much water in the mix, troweling while bleed water is still on the surface, or letting the slab dry too fast all weaken the top layer. A weak surface pits much sooner than a properly cured one.
How to Fix Pitted Concrete: Assessing the Damage
Not every rough slab needs the same fix. Walk the surface and look closely at how deep and how widespread the pits are. A neighbor of mine thought his whole driveway was ruined. It turned out only the strip along the garage, where salty slush dripped off his truck, had real damage.
Shallow Surface Pitting
If most holes are under a quarter inch deep and the slab feels solid underfoot, you’re in good shape. A patching compound or a thin resurfacer usually handles this well.
Deep Pits and Spalling
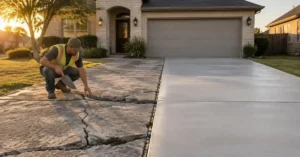
Wider flakes, exposed aggregate, or loose chunks point to spalling. If the concrete sounds hollow when you tap it with a hammer, the damage may go deeper than the surface. At that point, an overlay alone may not last, so a professional evaluation makes sense before you spend money.
Preparing the Surface the Right Way
Prep decides whether your fix lasts five months or five years. Skip it and even the best product will peel. Anyone serious about how to fix pitted concrete should treat this step as the most important part of the job.
Start by cleaning thoroughly:
- Sweep away loose debris and dust
- Scrape off any flaking or weak concrete
- Pressure wash at around 3,000 PSI to remove dirt, oil, and old sealer
- Use a degreaser on oil stains before rinsing
Let the slab dry, then check for loose spots one more time. Most resurfacing products need a clean, damp surface with no standing water when you apply them, so read the label carefully. Masking nearby walls, doors, and landscaping also saves you a cleanup headache later.
Resurfacing Options That Actually Work
Once the surface is ready, choose a method that matches the damage. Here’s a breakdown of the most common resurfacing options.
Patching Compound for Spot Fixes
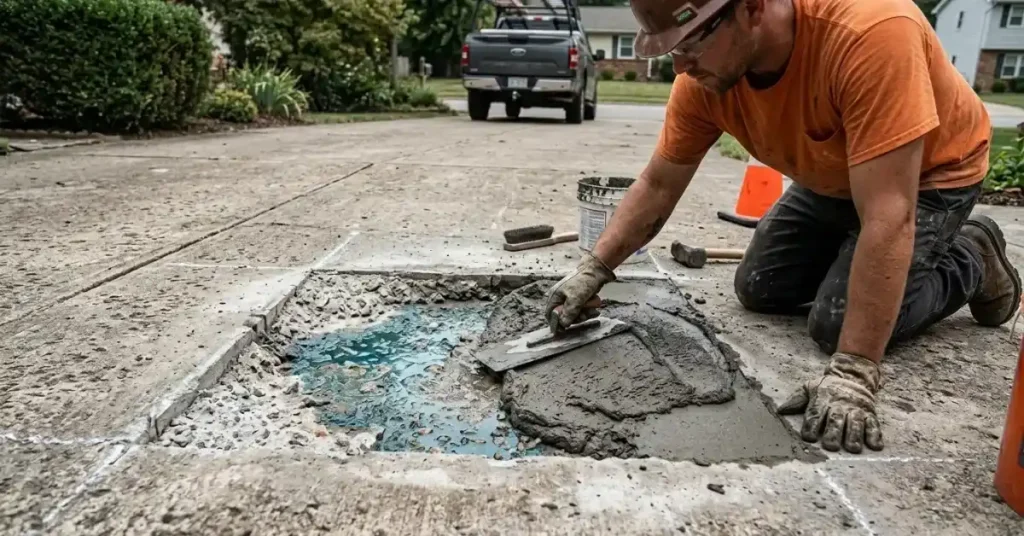
For scattered pits, a polymer modified patching compound works well. Press it into each hole with a putty knife, level it off, and feather the edges. It’s quick, cheap, and good for small areas.
Concrete Resurfacer or Overlay
When pitting covers most of the slab, a cement based resurfacer is the better choice. You mix it to a pancake batter consistency, pour it out, and spread it with a squeegee. Apply it in sections and finish with a broom for traction. Most products go down about an eighth of an inch thick and can usually handle foot traffic within a day.
Microtopping and Decorative Coatings
If you want a fresh look while learning how to fix pitted concrete, microtopping lets you add color or texture. It’s thinner than a standard overlay and gives patios a sleek, modern finish.
Protecting Your Slab After the Fix
Once you know how to fix pitted concrete, keeping it from coming back is the next goal. Protection matters as much as the fix itself.
Seal It Regularly
A penetrating silane or siloxane sealer keeps water out of the pores. Reapply every two to three years, or sooner if water stops beading on the surface.
Rethink Winter Habits
Avoid rock salt, especially on new concrete during its first winter. Sand gives you traction without the chemical damage, and calcium magnesium acetate is a gentler melting option. Shovel early so snow doesn’t pack down and melt into the surface. Also, make sure gutters and downspouts drain away from the slab. Standing water is the quiet villain behind most surface damage, and fixing drainage now saves you a lot of trouble next spring.
Frequently Asked Questions
Can you resurface concrete that has pits in it?
Yes. Pitted concrete can be resurfaced as long as the slab underneath is solid and stable. Clean it thoroughly, fill the deeper holes with patching compound, then apply a cement based resurfacer for a smooth, even finish that blends well and holds up for years.
What is the best product for fixing pitted concrete?
For small, scattered pits, a polymer modified patching compound works best. For larger areas, a concrete resurfacer gives better coverage of the whole surface. Always pick a product rated for outdoor use and your local climate, especially if your winters bring frequent freeze thaw cycles.
How long does a concrete overlay last?
A properly installed concrete overlay can last 8 to 15 years with good care. How long it lasts depends on surface prep, traffic, weather, and sealing. Resealing every few years and avoiding harsh deicing salts helps the new surface stay strong and smooth much longer.
Why does new concrete start pitting so quickly?
New concrete often pits early because of poor finishing, too much water in the mix, or rushed curing. Using rock salt during the first winter also weakens the fresh surface paste. Proper curing and a quality sealer greatly lower the risk of early surface damage.
Is fixing pitted concrete a good DIY project?
Fixing shallow surface pitting is a manageable DIY project if you prep carefully and follow the product instructions closely. Deep spalling, hollow sounding spots, or large cracked areas usually need a professional, because the damage may go below the surface and needs a stronger long term solution.
Conclusion
Learning how to fix pitted concrete comes down to three steps: understand the cause, prep the surface well, and choose the right resurfacing method. Small pits are a weekend job, while widespread spalling needs a closer look. Protect your work with a good sealer and smarter winter habits, and your slab will stay smooth for years. If you’d rather leave it to experienced hands, Talk to Mouton Concrete Services today and bring your concrete surface back to looking its best.